Repotting is a crucial part of plant care. It gives your green companions more room to grow, refreshes the soil, and helps prevent root-bound stress. Whether you’ve got a droopy houseplant or a thriving herb that’s outgrowing its pot, this guide will teach you exactly how to repot plants the right way.
Why Repot Plants?
- Promotes healthier root growth
- Prevents root-bound plants (where roots circle and suffocate themselves)
- Refreshes nutrients in old soil
- Improves drainage and airflow
- Allows for continued plant growth
Most houseplants and herbs benefit from being repotted once a year.
Signs Your Plant Needs Repotting
- Roots growing out of drainage holes
- Soil dries out quickly or drains poorly
- Plant looks top-heavy or falls over easily
- Slowed growth or yellowing leaves
- You haven’t changed the soil in over a year
Listen to your plants—they’ll show you when it’s time.
When to Repot
- Spring or early summer is the best time—during active growth
- Avoid repotting during dormant winter months
- Emergency repotting (due to disease or pests) can be done anytime
Choose a mild day if you’re repotting outdoors.
What You’ll Need
- A new pot (1–2 inches larger than the current one)
- Fresh potting mix suitable for your plant type
- Gloves (optional)
- Trowel or spoon for transferring soil
- Watering can
- Shears or scissors for trimming roots (if needed)
- Tarp or newspaper to catch soil mess indoors
Pick a pot with drainage holes to avoid waterlogging.
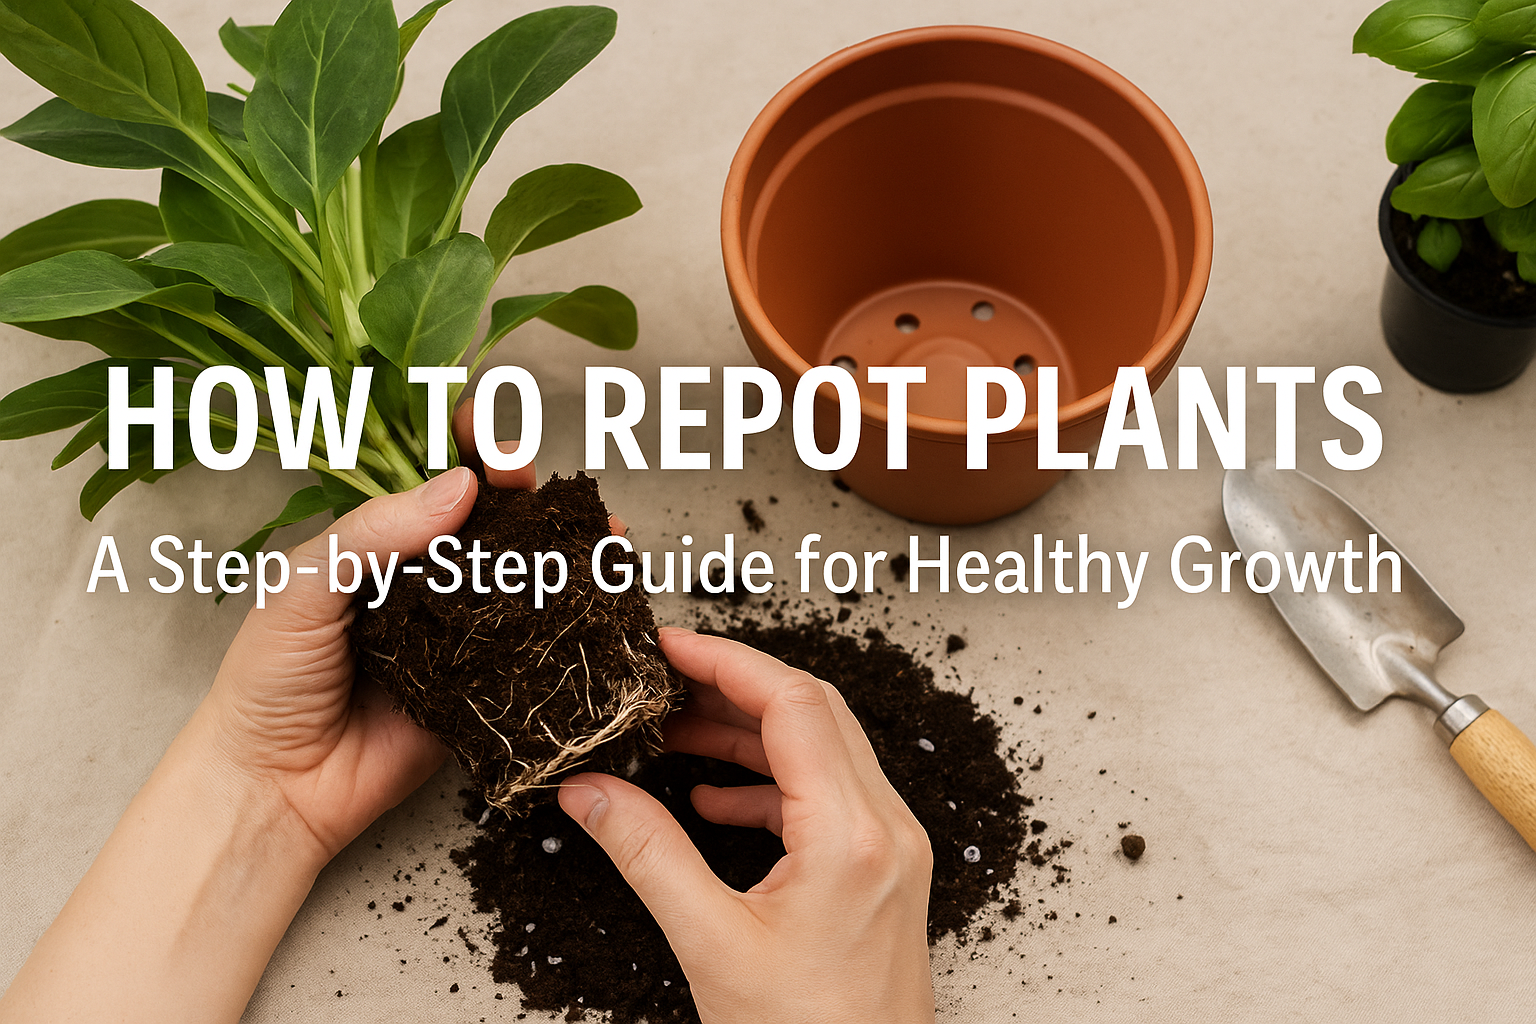
Step-by-Step: How to Repot a Plant
1. Water Before Repotting
- Water the plant a day before—it makes root removal easier.
2. Remove the Plant
- Gently tip the pot and ease the plant out
- Support the root ball, not the stems
3. Loosen the Roots
- Tease apart tangled roots with your fingers
- Trim long or rotting roots with clean scissors
4. Add Fresh Soil to New Pot
- Fill the bottom with a layer of fresh potting mix
- Center the plant so the top of the root ball is slightly below the rim
5. Fill and Firm
- Add soil around the plant, pressing gently to eliminate air pockets
- Don’t bury the stem—keep it at the same level as before
6. Water Thoroughly
- Let water run through the bottom to settle the soil
- Add more soil if needed after watering
7. Place in Indirect Light
- Keep the plant in a shaded area for a few days
- Let it adjust before returning to full sun
That’s it! Your plant is ready for its new home.
Aftercare Tips
- Wait a week before fertilizing
- Water only when the top inch of soil dries
- Monitor for drooping—it’s normal during adjustment
- Keep an eye out for pests or mold
- Wipe down the leaves to keep them clean and happy
Most plants bounce back within a week or two.
Final Thoughts: Give Your Plants Room to Breathe
Repotting isn’t scary—it’s an essential way to help your plants thrive. With a little time and care, you’ll give them the fresh start they need to grow fuller, greener, and stronger. Happy roots mean happy plants!