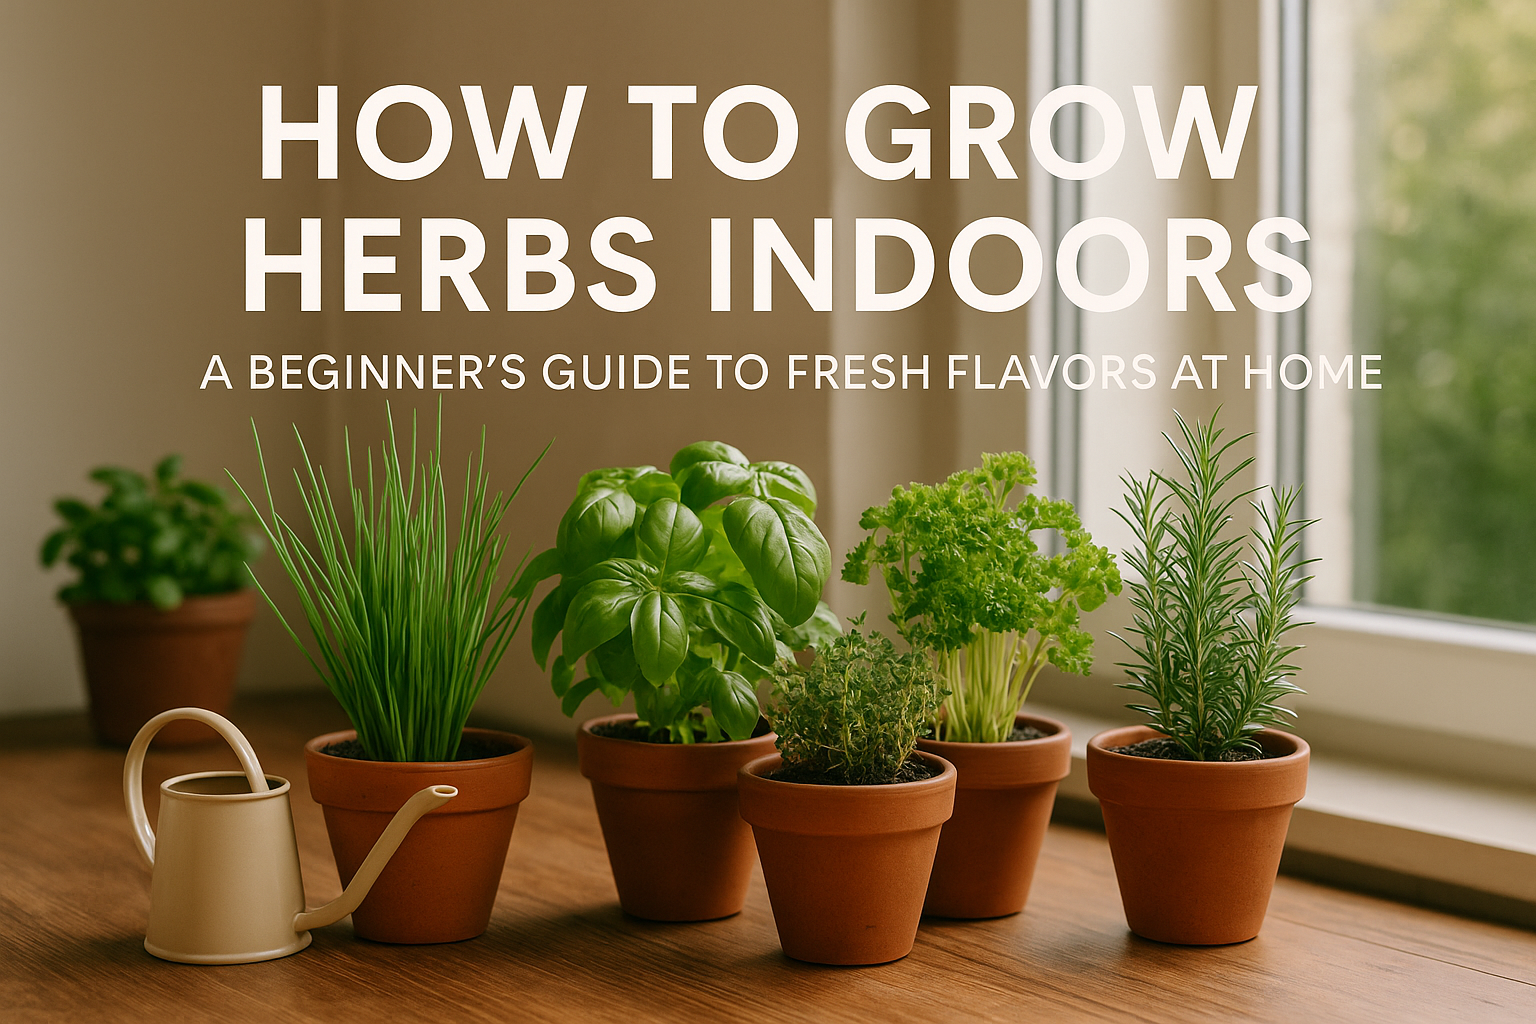
Imagine walking over to your kitchen windowsill and snipping fresh basil or mint to add to your meal. Growing herbs indoors is a rewarding and convenient way to have fresh flavor at your fingertips. This guide will teach you how to grow herbs inside your home, no matter how small your space is.
Why Grow Herbs Indoors?
There are plenty of reasons to bring herbs into your home:
- Fresh herbs year-round
- No need for a garden or yard
- Convenient access while cooking
- Low-maintenance and compact
- Aesthetic and aromatic appeal
It’s a perfect project for beginners with minimal space.
Best Herbs for Indoor Growing
Start with herbs that thrive in containers and don’t require too much fuss:
- Basil: Needs sunlight and regular trimming
- Mint: Grows vigorously, best in its own pot
- Parsley: Great for garnish, tolerates partial shade
- Chives: Adds onion flavor and grows quickly
- Thyme: Hardy and compact
- Oregano: Perfect for Italian dishes
- Rosemary: Loves light but doesn’t like soggy roots
- Cilantro: Prefers cooler temps and indirect light
Choose herbs you actually use in your cooking to make the most of your setup.
Step 1: Choose the Right Containers
- Pots with drainage holes are essential
- Use saucers or trays to protect your windowsills or counters
- Select clay or ceramic pots for breathability, or plastic pots for lightness
- Keep each herb in its own container unless they have identical water and light needs
Tip: Avoid containers that are too large—smaller pots dry evenly and are easier to manage indoors.
Step 2: Use the Right Soil
Regular garden soil won’t cut it indoors. Use:
- Potting mix designed for indoor plants
- Add perlite or sand to improve drainage
- Use organic compost to boost nutrients
Avoid over-fertilizing; herbs have better flavor when not overfed.
Step 3: Find the Perfect Light
Light is the biggest challenge indoors. Here’s how to get it right:
- Place herbs in a south-facing window for maximum light
- East- and west-facing windows are also good options
- Rotate pots weekly to ensure even growth
- If natural light is lacking, use a grow light (LEDs work great for herbs)
Most herbs need at least 4–6 hours of light daily.
Step 4: Water with Care
Overwatering is a common mistake. Here’s how to do it right:
- Check soil moisture with your finger
- Water only when the top inch of soil feels dry
- Don’t let pots sit in standing water
- Use a small watering can or spray bottle for precision
- Mist herbs occasionally if your home is dry
Remember: It’s easier to recover from underwatering than overwatering.
Step 5: Maintain and Harvest Properly
Herbs love to be trimmed—don’t be afraid to use them!
- Pinch or cut just above a leaf node
- Regular harvesting encourages bushier growth
- Never harvest more than one-third of the plant at once
- Remove any yellow or wilted leaves promptly
- Fertilize once a month with a light organic feed
Keep them tidy and productive with a weekly check-in.
Troubleshooting Common Issues
Leggy growth: Not enough light
Yellowing leaves: Overwatering or poor drainage
Slow growth: Cold temperatures or nutrient deficiency
Pests: Rare indoors, but watch for aphids or fungus gnats
Fungus or mold: Improve air circulation and reduce watering
Monitor your plants closely to catch problems early.
Fun Display Ideas
- Use a hanging shelf in the kitchen window
- Create a chalkboard-labeled planter box
- Try a vertical herb wall using mason jars or mounted pots
- Repurpose old mugs, tins, or teacups
- Use a tiered tray to save space on counters
Let your herb garden be functional and stylish.
Final Thoughts: Flavor at Your Fingertips
Growing herbs indoors is one of the simplest ways to start gardening. With the right setup, you’ll enjoy the scent, look, and taste of fresh herbs year-round. Whether you’re seasoning pasta, garnishing soup, or making tea, there’s nothing like snipping straight from your own mini herb garden.

